How to Install SSL Certificate and Why?
SSL stands for “secure sockets layer” and is a form of website security that builds a secure encrypted connection between a user’s web browser and the web server hosting the site.
Step 1: Select the Suitable Certificate for Your Site
Various types of SSL certificates are classified based on their validation levels and their functionality. Pick the SSL certificate you wish to buy, depending on your need.
Step 2: Generate the Certificate Signing Request (CSR)
A CSR is like an application that contains the information of the domain you are trying to secure using the SSL certificate. It is a fairly straightforward process, but you can refer to Sectigo’s support articles that provide instructions on CSR generation for different servers.
Step 3: Complete the Order Process
Once you have finalized the certificate signing request, you will get an order confirmation email from your certificate authority (CA) of choice with a link where you can submit your CSR.
Step 4: Validation by Your Chosen Certificate Authority
After you have submitted the CSR using the link you get via email, your request will be verified and validated based on which certificate you pick in step 1. After the CA deems your request to be a legitimate one, they will issue an SSL certificate to your website.
Step 5: Install the SSL / TLS Certificate on Your Server(s)
Please make sure you have downloaded all your certificate files.
Once downloading your certificate, you should have a ZIP having the following certificate files:
certificate.crt
ca_bundle.crt
private.key
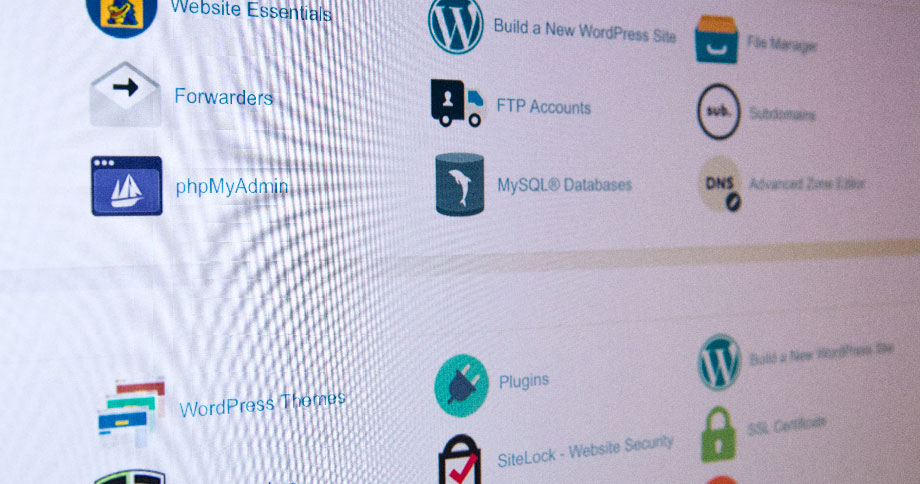
Now, please log in to your cPanel account. Usually, you can access your account by navigating to https://domain.com:2083.
Next, scroll down to the “Security” page of the cPanel homepage and click “SSL/TLS” to access the SSL/TLS Manager, which permits you to manage the configuration of SSL & TLS certificates.
Select “Install and Manage SSL for your site”
Use the “Domain” dropdown menu to select the domain you want to install your SSL certificate for.
Open the Certificate file in any text editor like Notepad. Copy the full-text content including the header and footer —–BEGIN CERTIFICATE—– and —–END CERTIFICATE—–
Now add (copy & paste) your certificate files (certificate.crt, ca_bundle.crt & private.key) into the respective fields.
lastly, click on “Install Certificate”.
Check Installation…
You have done all the required steps to install the SSL certificate. To check whether or not it has been installed properly, simply use the built-in ZeroSSL “Check Installation” tool or try accessing your domain using HTTPS, for example, https://domain.com.
After installing an SSL certificate, a website connection with an “HTTPS ://” URL is established, which leads the webserver to form a secure connection with the web browser.
Browsers then inform users that the website is SSL-Secured, with the help of some visible trust indicators.
Benefits of SSL Certificate
- Encrypt website and secure connection between browser and server
- Protects visitor’s sensitive information
- Let’s to visitors complete a successful transaction without any risk of data loss
- Increases visitor’s trust and confidence
- Removes browser warning and alerts
- Boost up the business conversation and helps to generate the highest revenue
- Increases Organization’s reputation on the internet
- Google also prefer SSL enable website for ranking
- Reduce the risk of phishing and other cyber attacks
- Available at a lower cost and saves money by letting the visitor manage multiple websites under a single certificate